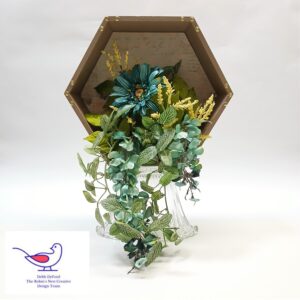
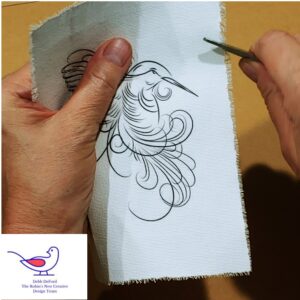
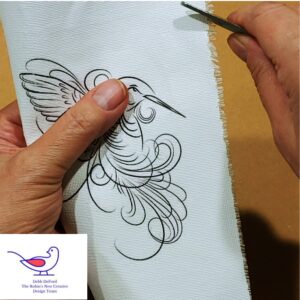
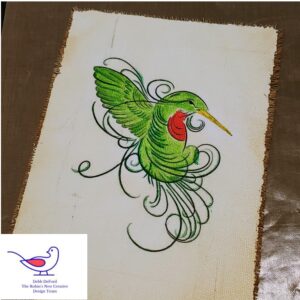
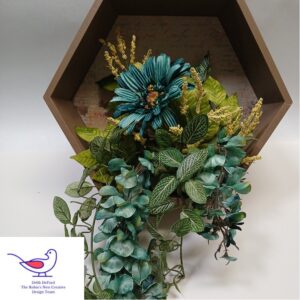
Hi there! It's Debb from Clickersister's Gallery and I have a home decor project for you today. I started with a wooden hexagon planter from the hobby store, some extra spray paint that I had, and a few flowers and vines. I also used a piece of scrapbook paper but if you just want to spray paint the back, you could do that.
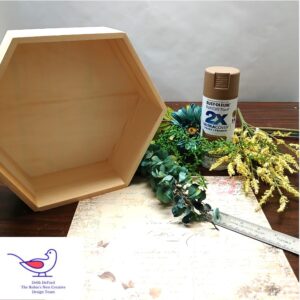
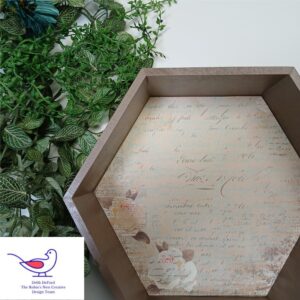
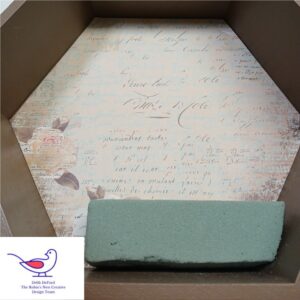
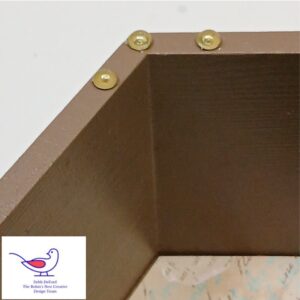
I spray painted the inside and outside and cut the paper to fit on the inside.
Then I had a scrap piece of floral foam (I just use what I have on hand), and I used hot glue to attach it to the inside of the box.
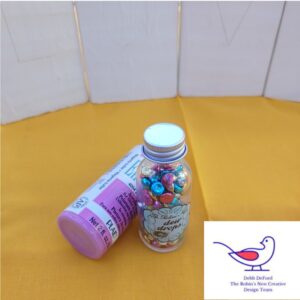
I picked out the dew drops to match my flowers and started inserting stems and flowers into the floral foam.

This was a lot easier than I thought it would be, and I really liked the look after I was finished!
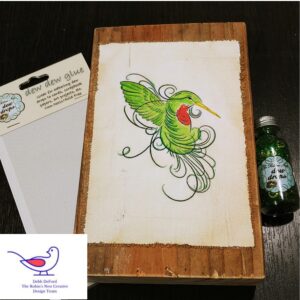
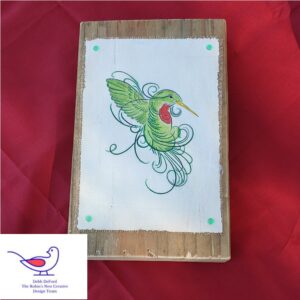
Now to attach the dew drops with the dew dew glue. I used three on each corner.
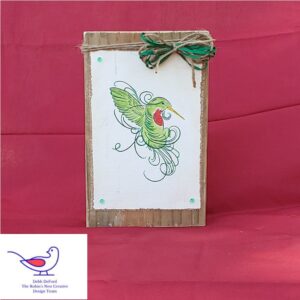
This really turned out better than I imagined! Thanks for stopping by today!